(2nd post today so make sure to see the post prior)
I wanted to share a gift card explosion box I made for my Boss a few weeks ago. It was to house a gift card the whole Team gave him for Christmas and it was given to him at our Christmas Party.
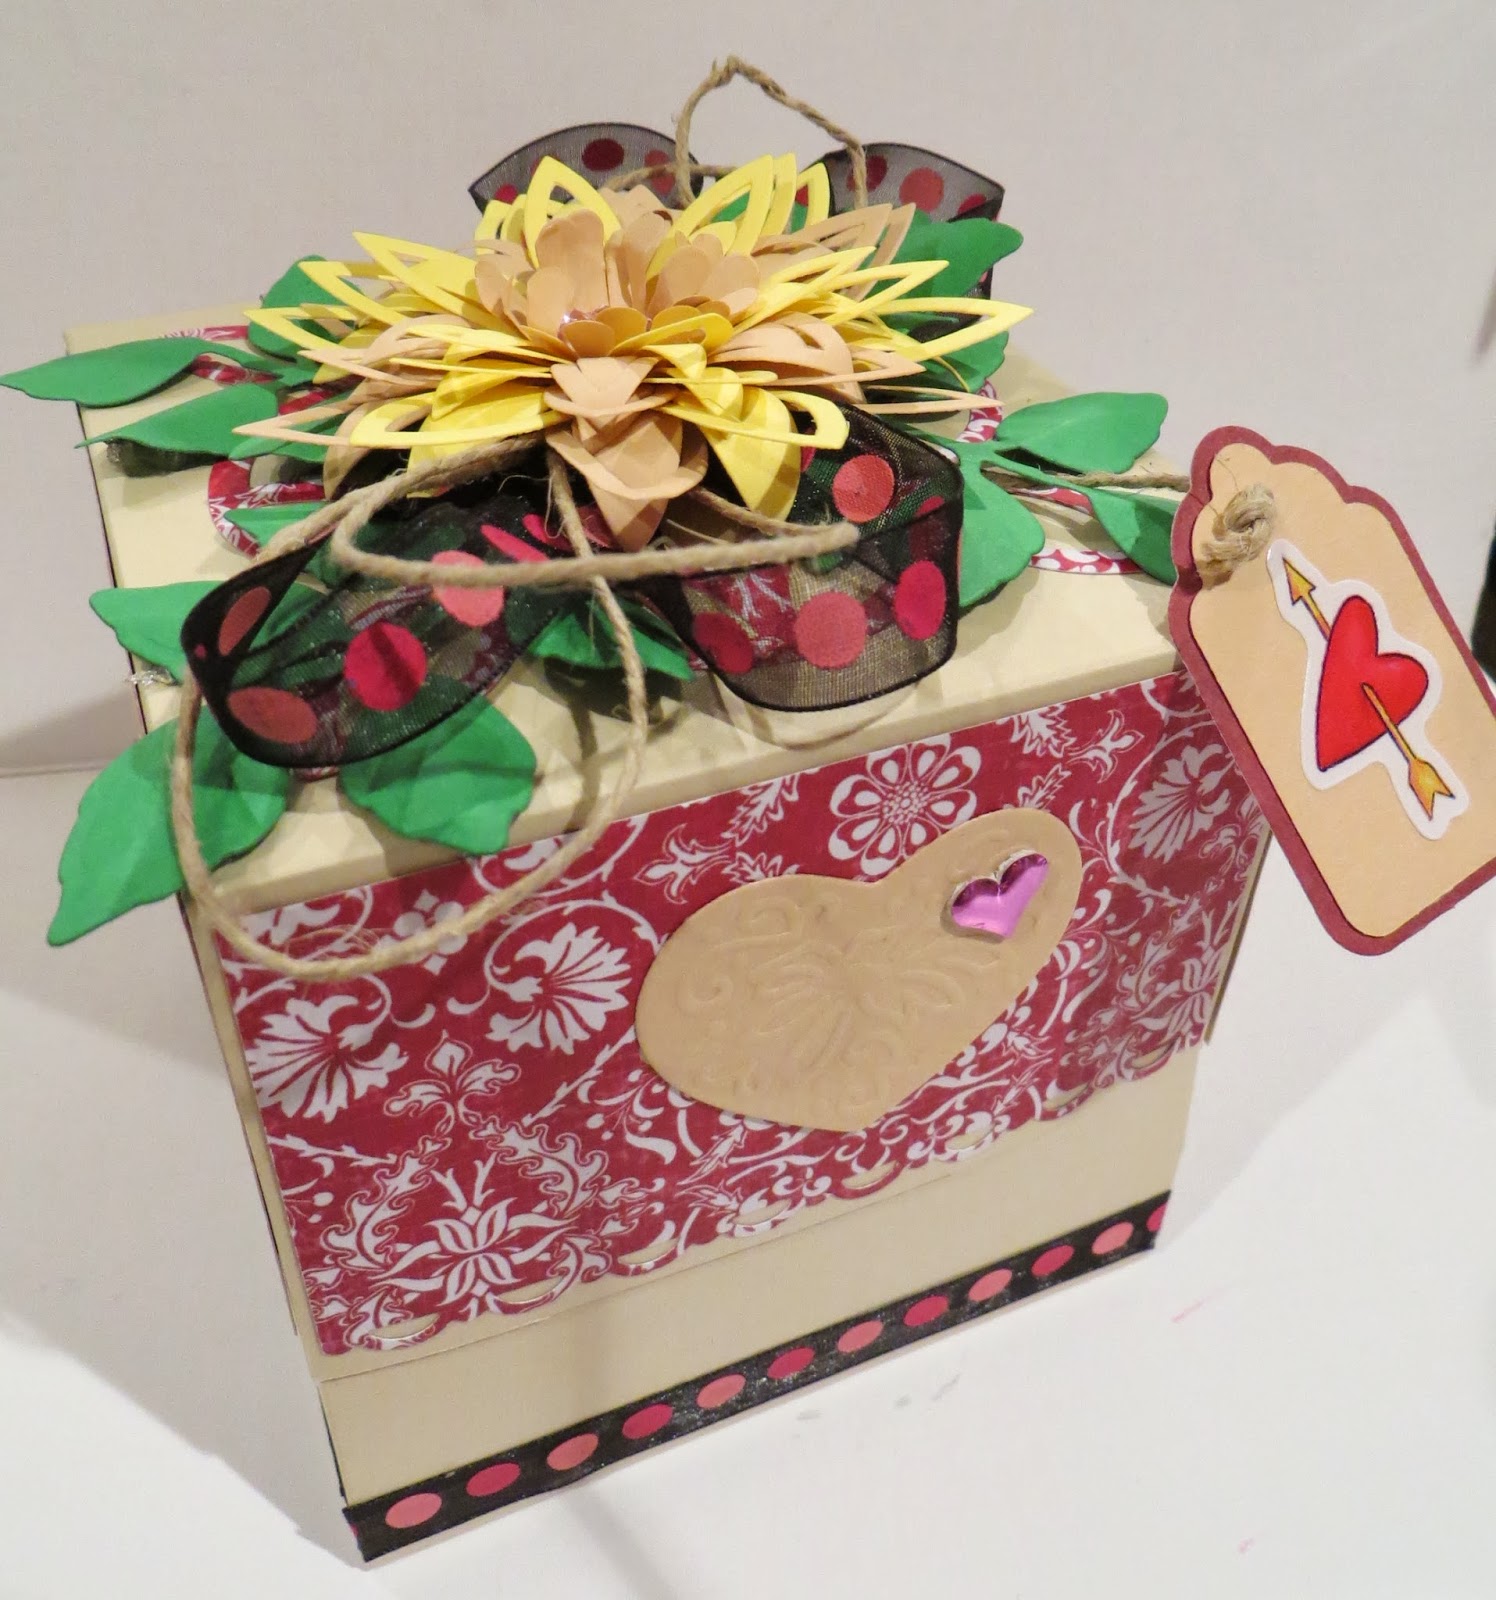
An explosion box card, is made from sheets of cardstock that nest inside each other. It looks like a regular gift box and when you lift the box top off, the sides drop down which causes the layer(s) to explode (drop down) to reveal whatever is on the inside.
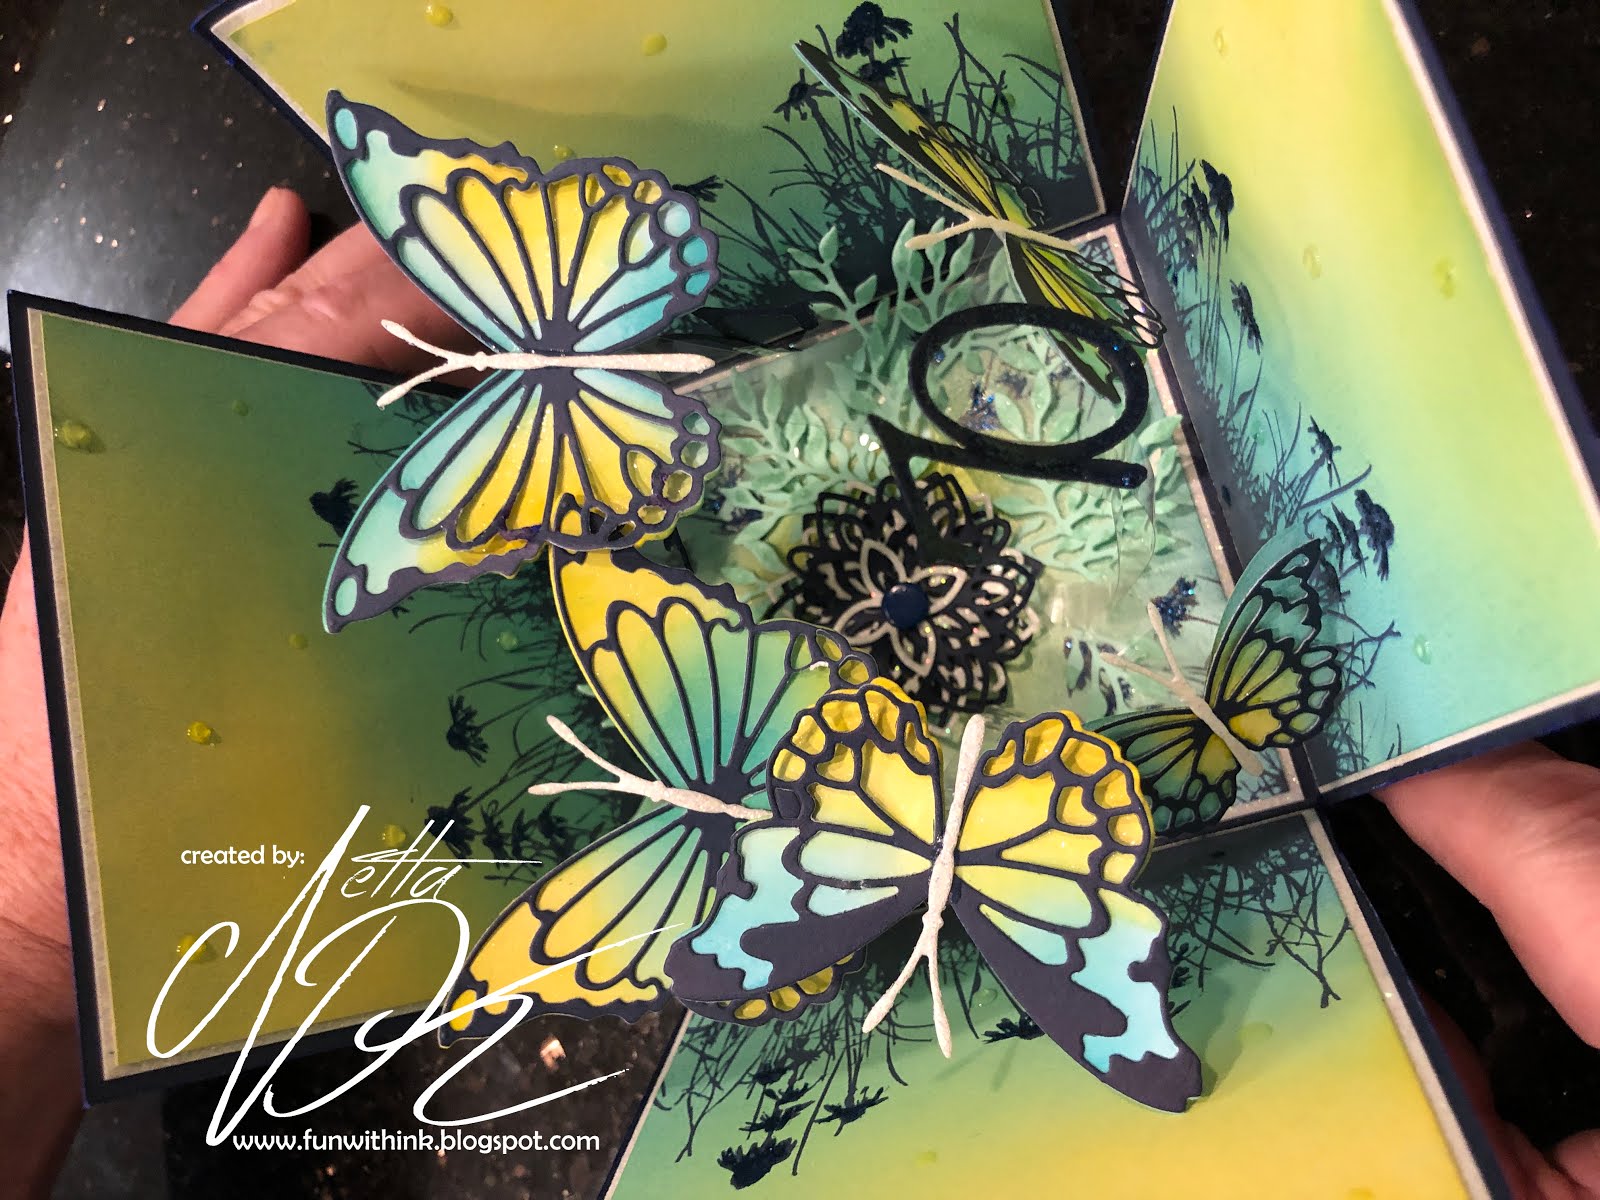
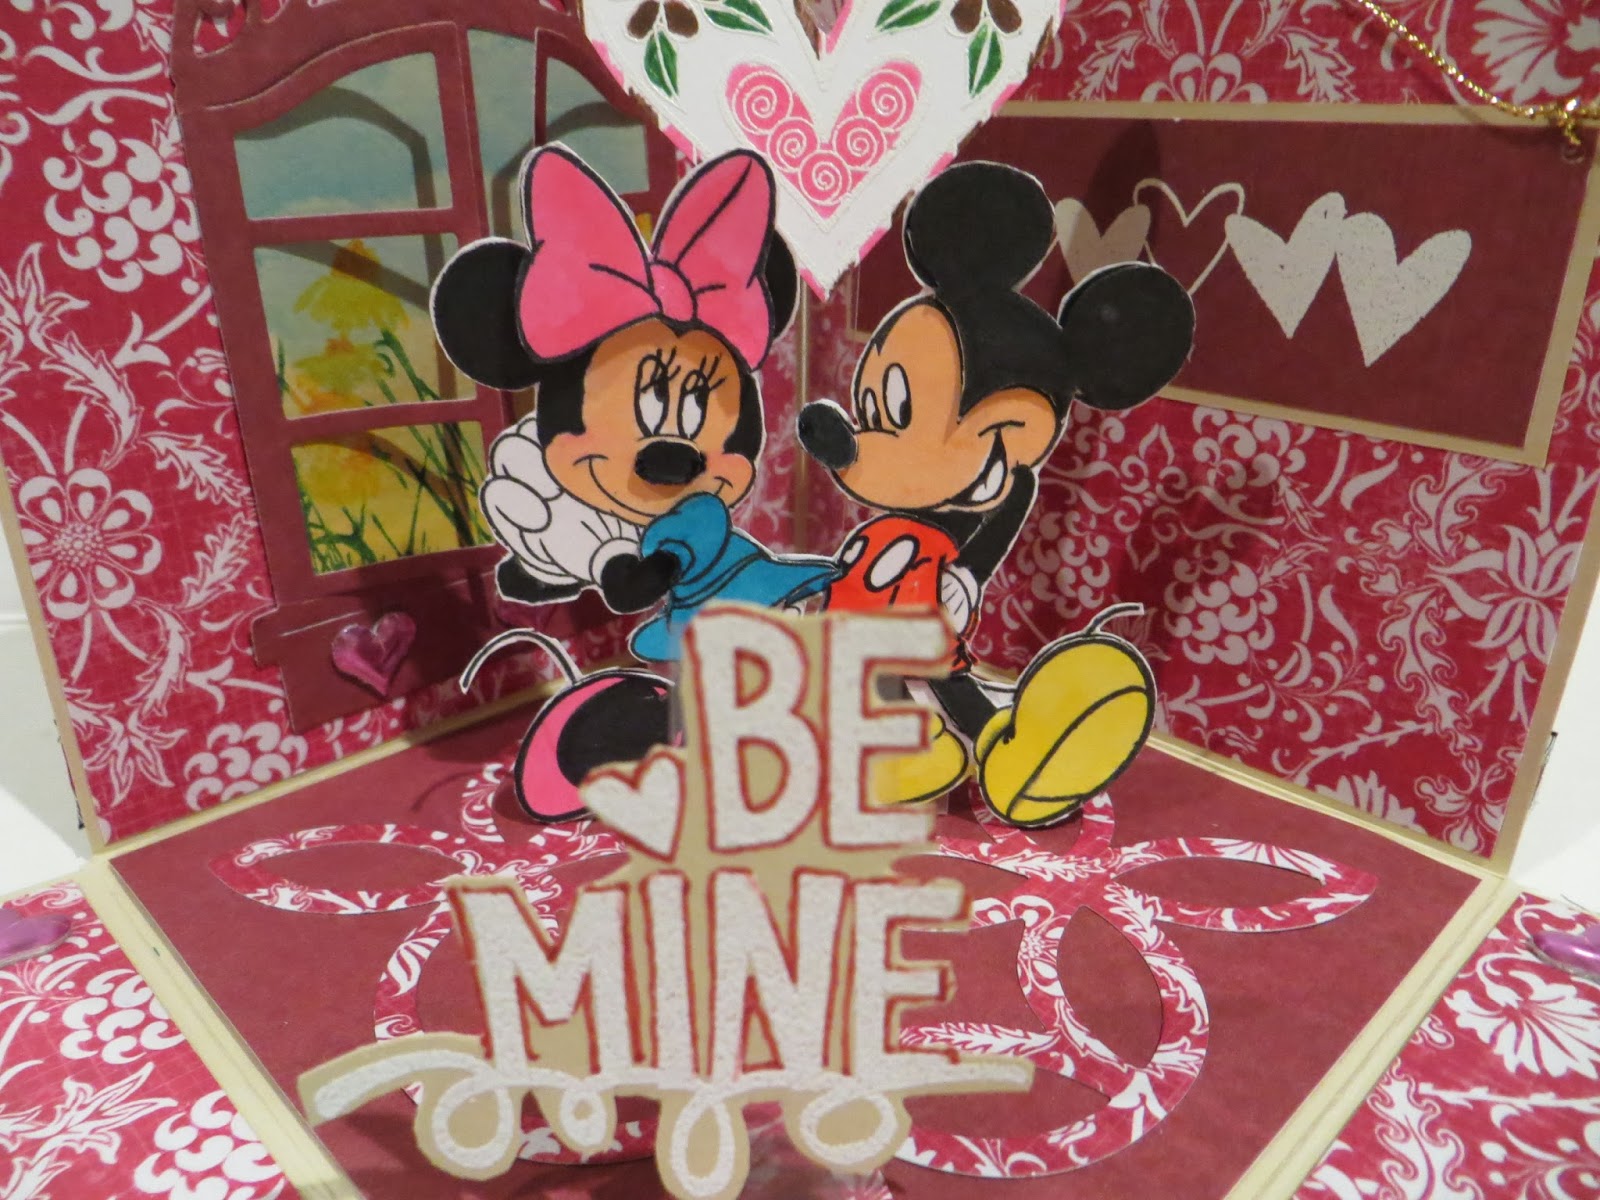
I have done a couple of explosion boxes which you can see here Birthday Butterfly box and here Mickey & Minnie box.


I wanted to share a gift card explosion box I made for my Boss a few weeks ago. It was to house a gift card the whole Team gave him for Christmas and it was given to him at our Christmas Party.
An explosion box card, is made from sheets of cardstock that nest inside each other. It looks like a regular gift box and when you lift the box top off, the sides drop down which causes the layer(s) to explode (drop down) to reveal whatever is on the inside.
I have done a couple of explosion boxes which you can see here Birthday Butterfly box and here Mickey & Minnie box.

The inside of this box had a beach scene because the gift card was to a place where there are beaches to enjoy.


Two of the sides had snowflakes because it was a Christmas gift. The other two sides continued from the middle with sand and ocean.

On one side of the beach scene was actually a gift card holder. I used a card of mine to show where the gift card would go for the photo. After my boss checked out the box he thanked us for the "gift" and started to put it back into the form of a box. He never saw the gift card. The funny thing is the gift card had a beach scene on it and it was the exact same color as the beach scene on the box...same blue and same sand color. We had to stop him to point it out to him! I had made the gift box before we got the gift card and we were all pleased it was a perfect match!

This is what it looked like with the whole box laid flat. I had made myself a Christmas tree stencil and cut the trees out by hand.


There are many instructions and you-tube directions out there to learn how to do this so I will not go over it again however I did want to give you my dimensions.
Box is a 12" x 12" cardstock scored at 4" and 8"
turn the cardstock to score again.
You will end up with 9 boxes.
On the 4 corners I used a Christmas tree pattern drawn by hand.
Box top was cut at 6 3/4 square and scored 1 1/4 all the way around.
These boxes are so pretty but can be time consuming... depending on what you create on the inside. Some put several layers on the inside but each layer is a little smaller than the layer below it.
Well, today is New Years Eve so Happy New Year!
I want to thank everyone who visited my blog in 2019.
Hope I was able to inspire you someway or somehow!
I want to thank everyone who visited my blog in 2019.
Hope I was able to inspire you someway or somehow!
Be safe everyone and have a Happy New Year.
See you in 2020!!
See you in 2020!!
Netta
Tattered Lace Christmas Snowflake Frame die
Memory Box Frostyville Die
Impression Obsession Die #DIE078-F
My Favorite Things Stylish Snowflake Die
EK Snowflake punch
Copic Sea #B01, B04 and B06 was Air Brushed
Sea caps was drawn with white gel pen
Beach Scene was a kit that came with everything in the middle of the box