Monday, August 31, 2020

Mandala's Birthday

Today I challenged myself.

I have most everything in plastic cases on the shelf..sometimes they house stamps and often times dies.  All of them are cataloged in my book.   Someday I will share how it is all set up.  Some stamps, I have not used yet and some I have not used in a long time.  I always tend to grab for the same thing.   Today I decided to just reach in and pull out one case.  I wasn't sure what it was going to be but whatever it was, I was hoping I could use it for birthday cards.  The case I pulled out had two mandala items..one was a die and one was a stamp.  Lucky me,  I would be able to use it for birthday cards and the stamp had never been used!  I got it free when I went to a Hero Arts event.  

I was able to get 3 birthday cards done.

I used the die twice and the stamp once.  

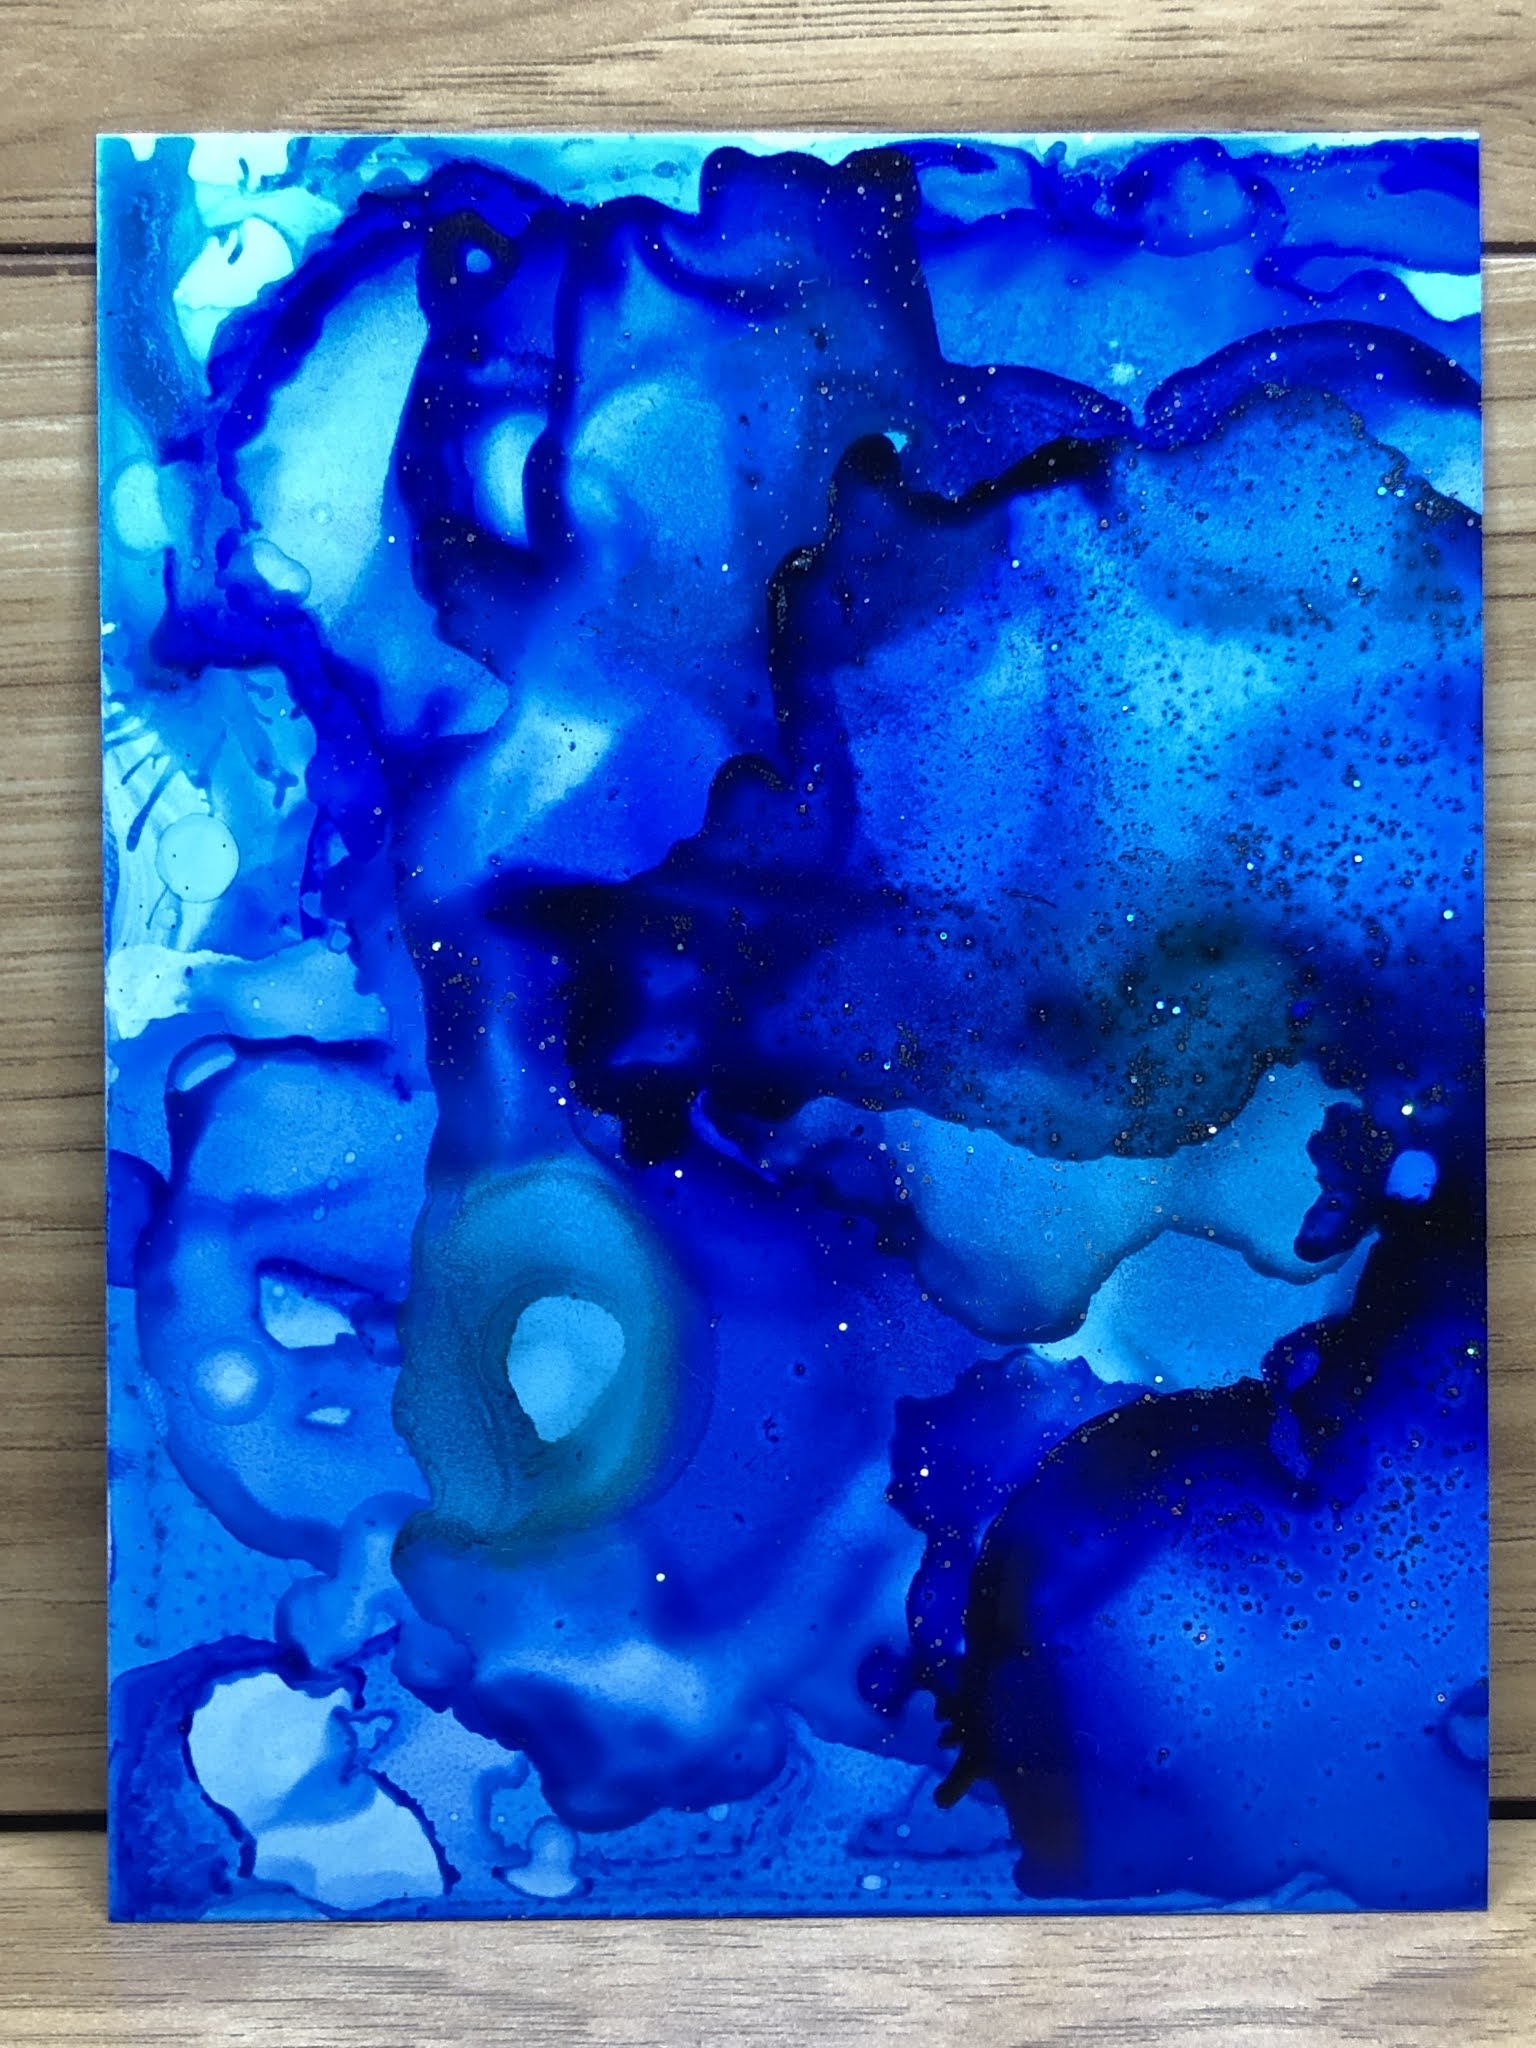
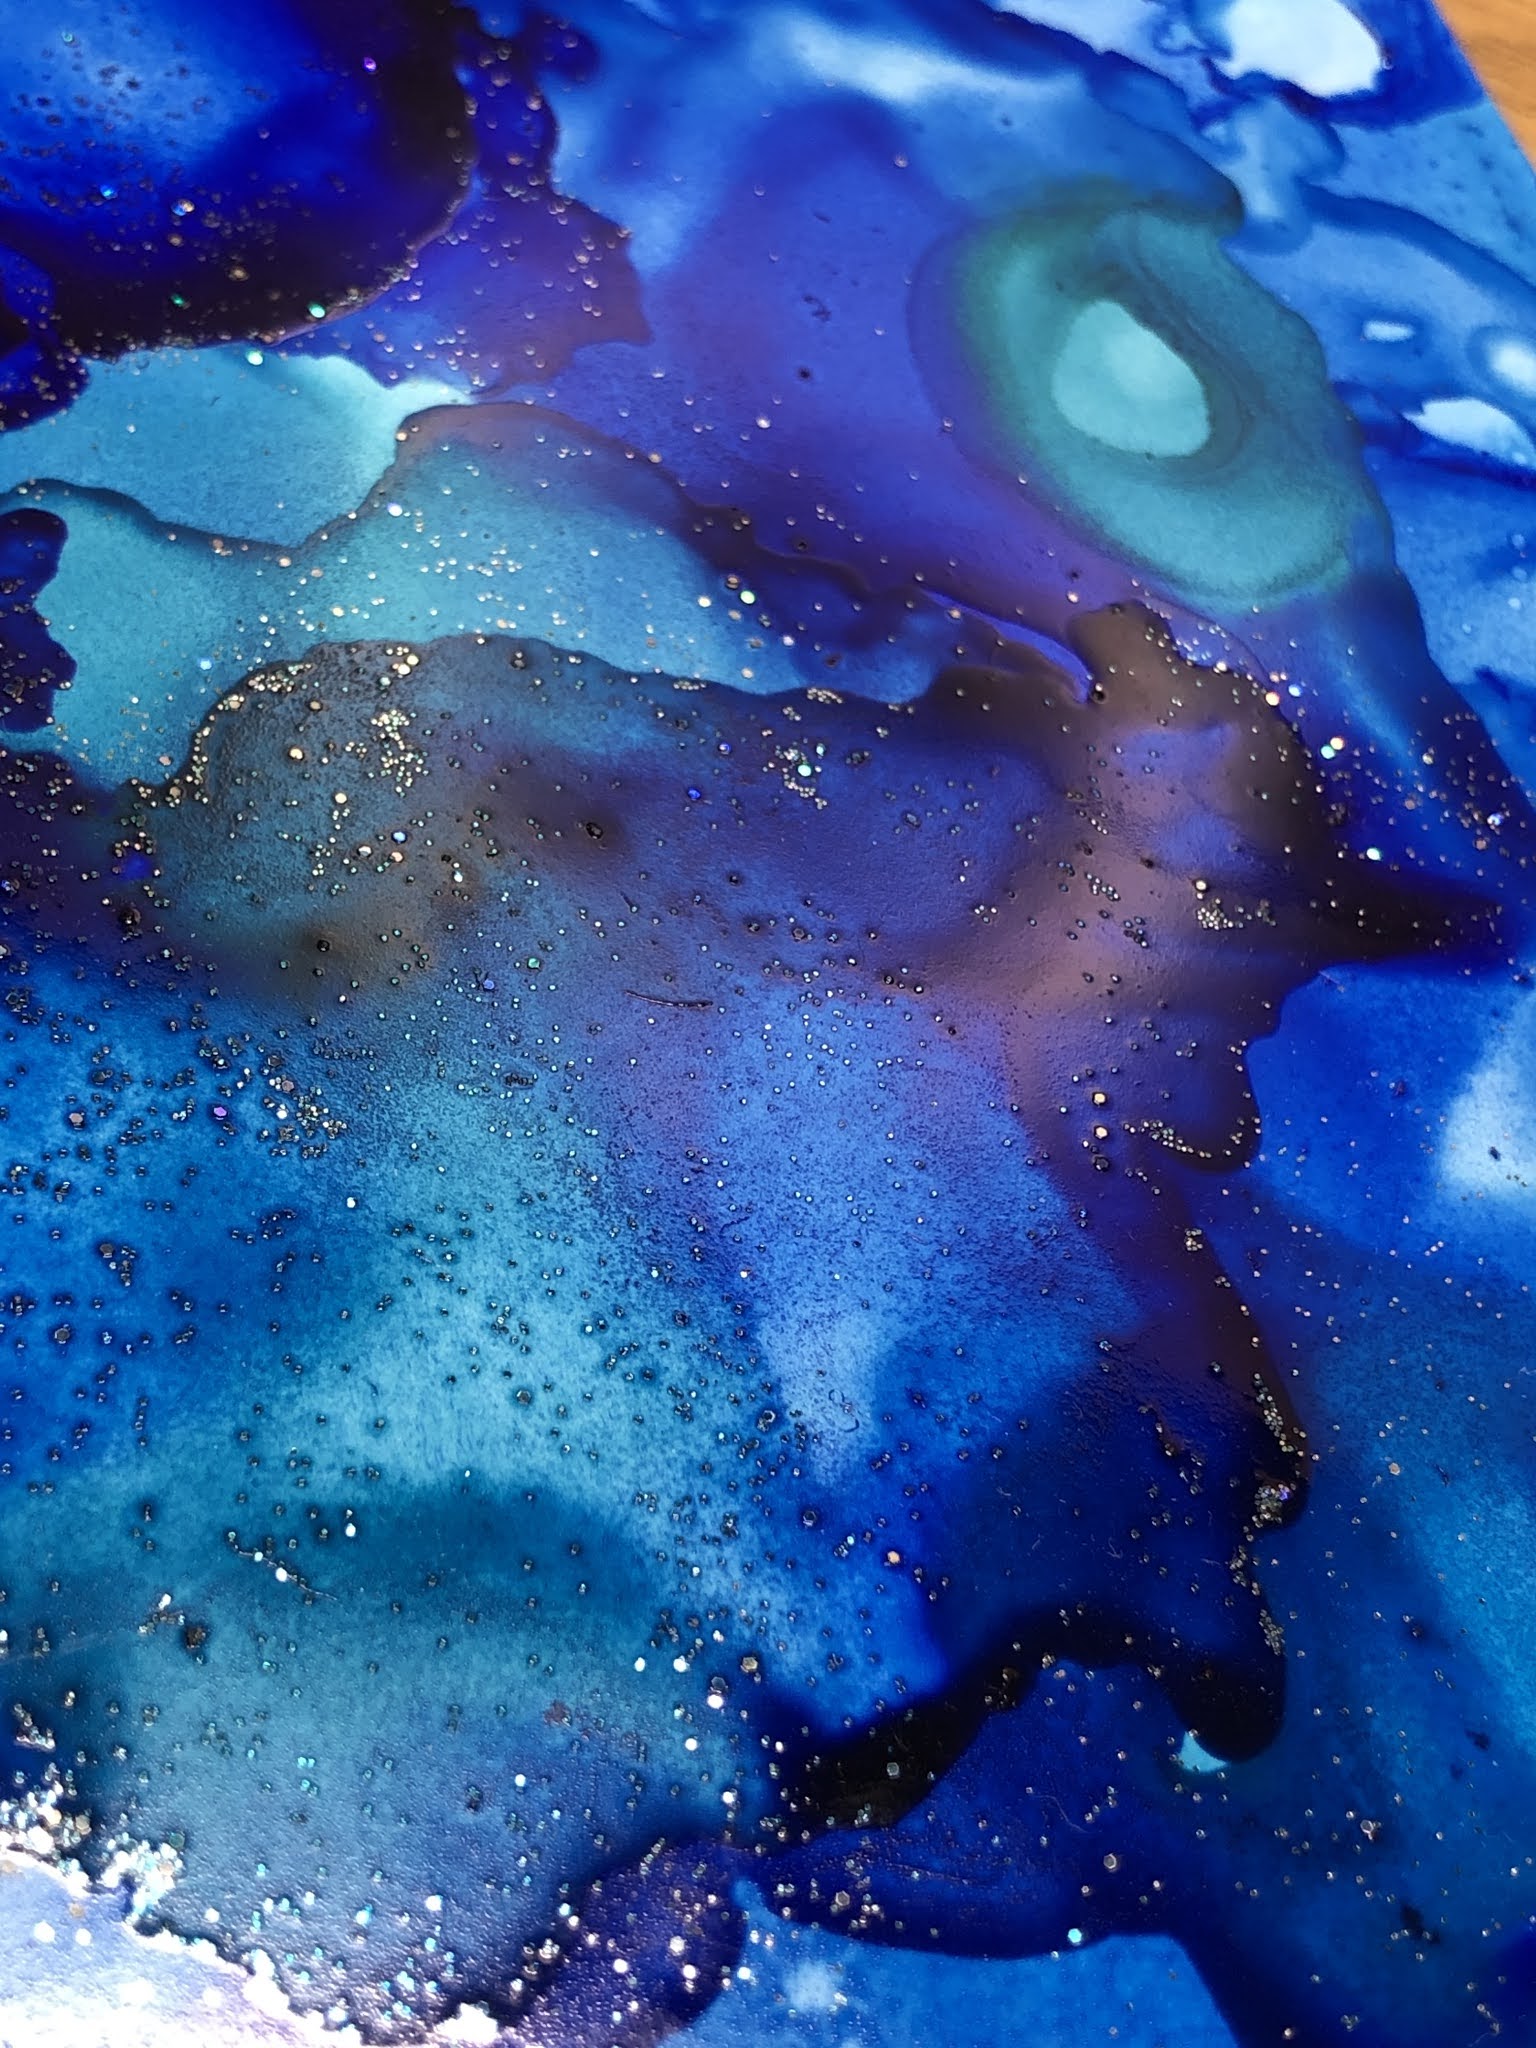
Here is the card I used the stamp on.  It was colored with Spectrum Noir glitter markers.  The image was cut out and glued on top of the background.  The background has the same glitter markers splattered on it.  I did not notice, but when I splattered the background some of it got on my table.  What did I do?  I laid the base of the card right on top so some splatter got on the back and of course I did not notice until the card was put together.  Know what I did to fix it without ripping it apart?  I just splattered more on the back and made it look like I did it on purpose!  


Here is the close up so you can see how pretty all that glitter looks!

This next card was simple as the background  was one I had laying around.  I took white cardstock and die cut the center.  Glued the background on the back.  The white die cut mandala was colored with oxide inks and glued back onto the same spot it was cut out from.  

This one actually is two mandalas I colored with Oxide Inks and cut parts off to glue around the card.  I used My Favorite Things Inside Outside die to make a border and circle center.  I love these dies because it puts a stitched mark on both sides...the piece cut off and the main piece.  Most dies only shows the stitches on the piece you cut out and I found that frustrating!  It was never on the piece I wanted to use.  These dies gives you both choices.  

 I actually enjoyed just pulling a case out to use.  I may have to challenge myself more often!

Have a super day!

Netta


Ingredients

  • Spectrum Noir: Red Berry, Aquamarine, Teacup, Rose Quartz, Peony, Cosmos, Sea Breeze, Sand Dune
  • Versamark Ink Pad
  • Black Embossing Powder
  • Cricut Cuttlebug Anna Griffin "Cherry Blossom" embossing folder.
  • Happy Birthday Die is a Amazon no-name brand 
  • Hero Arts Florals Star Flower cling Stamp
  • My Favorite Things Captivating Mandala Die
  • Distress Oxide Shaded Lilac, Broken China, Peacock Feathers, Cracked Pistachio
  • My Favorite Things Inside Outside Stitched Dies
  • Fiskars Birthday Cheer Stamp "Celebrate"
  • Stampin Up Wetland Birthday Stamp
  • Versafine Onyx Black


Sunday, August 30, 2020

Alcohol Ink Meets Foiling Take 2

 Just a quick post today.  Back in August 2019, I had a post "Alcohol Ink Meets Foiled Background".  I had forgotten I did another card at that same time.  I just came across it all ready to go and not posted.  I just love the colors in it and wanted to share with you!

Here is that card...


Thanks for stopping!
Netta


Saturday, August 29, 2020

Namaste Birthday

I created this Box Card a few weeks ago and I am just getting around to sharing it.
The frog images are from Stampendous Frog Yoga stamp set were colored with Prismacolors Pencils


Here are the images up close.


I love this fancy fold.  It folds flat to mail in an A2 envelope and packs a punch when the recipient opens up the card box.


On the back of the card is where we wrote our birthday wishes.

Happy Crafting Saturday!
Netta

Saturday, August 22, 2020

52 CCT August Technique Challenge

How many have heard of Shadow Stamping?  How many have heard of Shadow Stamping with a stencil?

Here are some videos to help you out if you are never heard of it

I have done Shadow Stamping in the past. You just stamp twice...once with a light color and once with a darker color but the 2nd time is off set just slightly from the 1st.  It gives it a shadow look.  
One of the videos shows how to Shadow Stamp with a stencil...something I have never tried so I did some experimenting.
I found, never use a light cardstock, as I could not tell where I stamped white.  I stamped way off kilter.  I might still use them some way...some how...on a card.

The sample I ended up using on my card was a Tree Stencil on a navy cardstock.  First I inked white with a sponge and then over the top (slightly off from the white), I inked with a dark blue.  You can tell where I inked because blue over the white became a lighter blue.   I wished I had more Christmas stencils to experiment with.

Here is a close up.  It looks like it is a shadow is on the front from a moon at the back of the trees.  I think, if I did this again with the trees, I would stamp at a big distance so it would be more white and less dark.

After the ink dried, I got to thinking...could you emboss with a stencil?  I did a search and found the out others have.  Here is the recipe I used with my Big Shot
Platform
Plate
Rubber Mat
Paper
Stencil
Precision Base Plate

Here is the backside.  It works but next time I would EMboss and not DEboss the image.  Since I already had the front done, I had to place the stencil on top so I could match up the image with the stamped image which caused it to deboss.


Now...go on over to https://52cct.blogspot.com/ and check out the beautiful creations from my fellow Designer teammates.  There will be a place for you to add your card as well for this challenge.
See you over there!  Let's go....

Netta


2 Techniques Used:
Dry Emboss with a Stencil
Shadow Stamping with Stencil

Ingredients:
Memory Box Birch Tree Stencil
Hero Arts Hero Hues Unicorn Ink
Stampin Pad Blueberry Bushel
Navy Cardstock
Foam Mounting Tape
Spellbinders Building Snowman Die
Left over White Glitter cardstock
Winter Wonderland Embossing Powder
Rubberstamps.com Sentiment "Build a Snowman"

Friday, August 21, 2020

Biker Couple

Cheers today to a very much loved couple.  It's not their Anniversary.  It's their Birthday.  My brother Al and my sis-in-law MJ.  It's been a standing joke for years because...for one day...she is older than him.  Her birthday is today and his is tomorrow.  They both LOVE riding the bike all over USA.   I like to make a bike card for my brother every now and then.  This time I combined their birthday's because I found the perfect image at Dr. Digi.

I had so much fun building this card.  My husband kept coming in to check on me because it took me forever.   Like I said, I had fun!

I even added additional details that I see but someone just looking might not?....like the license plate...Al*MJ

And the glue that dries clear on the top of the glasses and headlights to look real.


and one detail only they will know...their helmets are like what they wear..

This is embarrassing but I am going to show you anyway...the mess on my desk ALL for just one card!!!  All my planning and cutting and coloring and gluing...

*sigh*...thank goodness I know quickly where everything goes so I was able to clean up in a flash.  


It went into the mail early in the week so hopefully they get the card in time for today or tomorrow!

(Update:  they got the card Friday and in time for both birthdays!)

Happy Birthday Big Brother and Sweet MJ.

Love you both.

Netta


Dr. Digi Flossie's Day Out digital image

Ranger Letter it Adhesive Black 3D Foam

Prismacolored Pencils

Impression Obsession "Trees and Lake" stamp 

Distress Ink Wild Honey, Barn door,  Faded Jeans

Sponges

Memento Tuxedo Ink

At You Spica Extra Fine Black Pen detail

Ranger Glossy Accents 

Pump Action Sailor White Writer Pen

Saturday, August 15, 2020

52 CCT August Theme Challenge

This was a fun challenge-Under the Sea!  
I knew right off what I wanted to do.
Now Santa goes everywhere delivering packages, but what about the Mermaids who live down below in the deep sea?  
So I imaged Santa diving down deep to deliver.
My card is about Santa swimming in the deep deep blue.
First I colored up the image from Kit and Clowder with Prismacolor Pencils.  I won't tell you how many hours it took me to color. 
 Let's just say, to do my next step was a heart stopper.  
You ever have these big plans towards the end of your creations and your plan could literally destroy everything you just did?
I had no idea if you could water color over pencils.  I had this fear something would smudge and of course I wanted until the last minute to get this card done.  Nothing to do now but to jump in with both feet.  I grabbed my Shimmery LuminArte pots and spritz them with water.  
My plan was to color side to side to give a sense of being underwater.  I used the colors Blue Ice along the bottom, Sea Breeze in the middle and blended in Sage to the top.  After swiping the color across, I dabbed with a paper towel.  After it dried, some of the prismacolor pencil coloring had dulled so I took a few of the Prismacolor Pencils and quickly went over the corals to bring the color out.   
The image of Santa was something I had in my computer so I printed him out and popped him up.
The card came out like I planned.
Perfect card for someone living in Florida.

Now come join us over at https://52cct.blogspot.com/ and hopefully you will get inspired to give this challenge a try.


Thank you
Netta

Friday, August 14, 2020

Kit and Clowder-Rainbow Rose

  I took a lot of images to color on vacation and I always print two of everything.  My youngest granddaughter wanted to color with me so I gave her my extra rose.  She took out her own pencils and tried to match the colors that I was using.

This rose was a free class from December 2018 at Kit and Clowder

Can you tell which is hers and which is mine?

She did so well!!!

I ended up fussy cutting my rose out and created this card for my granddaughter's other grandmom who's birthday is today!


I thought she would get a kick out of the rose.

Happy Birthday Nanna!

Netta

Monday, August 10, 2020

Color Burst Circles

 A quick post to show these two fun cards I made.  Both backgrounds are Color Burst backgrounds I made with Ken Oliver many months ago.
For the top layer on the orange and yellow, I just used a white cardstock and cut a bunch of circles.  It was popped up on pop dots.  


The blue and green card, I just glued the circles I cut off the first card, onto the second card. 

Easy Peasy (since the backgrounds were already done)!


Two very quick cards for my stash!
Netta

Sunday, August 9, 2020

Happy 94th Birthday Dad!

I can't believe my Father-in-law's 94th birthday is today!  The past year has been a health struggle for him but he is doing very well now.  It gives me great pleasure to be able to make him another birthday card.
 Since he lives in Florida, I decided to make him a card with an ocean scene.


I created the background laying down 3 colors of Oxide Inks onto white cardstock.  I just learned how you can spritz a stencil with a little bit of water and then flip it over onto the Oxide inks, press a paper towel on top to sop up the water and remove the stencil.  Use a heat gun to dry the card and watch the magic of the stencil appear on top!  For his card, I used one to make it look like waves in the water. 

The turtles were colored with Copics and hand cut out.  I used a molding mat and a ball tool to press on the underside of the turtle so they would be more 3D.

I added a small amount of silicone glue so the areas I rubbed will stay rounded.  It keeps the image from squishing flat in mailing.

After putting all the parts together, I put a little bit of glue and sprinkle the sand along the bottom.

The whole top scene has foam under it to raise it above the ocean behind it.

Dad, I love to sit at dinner and listen to you talk about your past.  I love to hear about all the obstacles you faced growing up and depths of your experiences.  It's been such a pleasure getting to know you over the years.  You have so much wisdom and knowledge.  I especially love how you save everything to recreate or fix. Well, everything except that can opener!  You fixed it so well that it now takes the top of a can off so fast, I am afraid for my life and step way back!  *LOL* It works though!

Happy Birthday Dad.
I am looking forward to making you another year of cards in the coming year.
Netta

  • Distress Oxide Salty Ocean, Twisted Citron, Tumbled Glass
  • Hero Arts Unicorn Pigment Ink
  • Memento Tuxedo Black
  • Emerald Creek Baked Texture for sand
  • WOW Twinklebelle glitter
  • McGill Molding Mat and 8MM Ball Tool
  • Olba transparent silicone glue
  • TCW Stencil Mini Moving Vines
  • Simon Says Waves Stencil
  • Copics: E15, YG00, YG25, YG63, YR00, YR02
  • Stampin Up "From Land to Sea" set
  • Memory Box Dies: Reef Border and Frame Set, Seaweed Ribbons, Delicate Coral
  • Message Strip printed from Computer


Saturday, August 8, 2020

52 CCT August Color Challenge

Good morning everyone!  
Happy Saturday and welcome to a Color Challenge day.
When I read a couple of weeks ago the challenge AndrejaM created for today...I cringed.  Orange? Christmas?  Ouch that will be tough!  I had to do some serious thinking....sunset in the winter...a fox?  Then it came to me...flowers!  Poinsettias to be exact.  
Now...add gold and green.  I said "I got this!"
Here is what I came up with...
I cut this die 4 times.  I cut three white and one gold.  The bottom layer was left white on purpose.  On the second white layer I used copics and colored the green.  When I glued it onto the white layer, I off set it slightly on purpose. The next layer I colored the flowers with Copic orange and cut them.  They were glued down onto the 2nd layer. 
 The lantern actually has 4 layers glued down, 3 white and one gold on the top.  I took the 4 white windows of the lantern and colored them with orange and glued them in the lantern.

I must say...I am quite pleased with the results! 
AndrejaM...please bring on the next challenge at 52CCT!  After surviving this one, I know I can do the next!  *S*


Thank you for stopping by and checking out my blog.  
Netta

Copics: G07, G29, YR02, YR09
Stampin Up Punch Border
Cottage Cutz Die Lantern & Poinsettia
Scrap Green Merry Christmas paper
Company Unknown Background Die
Spellbinders Radiant Rectangle Die
Words Printed from Computer
DCWV Foiled Gold Cardstock

Friday, August 7, 2020

Celebration Cards and a Quick Tip

I have been concentrating so much on current birthdays and Christmas, my stock on extras has dwindled down.  August birthdays are very light for me so I will use August to replenish my stock.  
Here are two cards I made from a background I had already done.
Three months ago, I was playing around with alcohol inks and created a few backgrounds.  Since I am already getting inky fingers, I go ahead and make them big enough so I can cut them in 1/2 to make two cards.  Sometimes I can get three out of them, depending what I am doing.  


Before the background had dried I had sprinkled some glitter onto it and knocked off anything that did not stick.  My idea at the time was to make it into some kind of ocean sparkling background.  Although it came out a little darker than I wanted, I went ahead and used 1/2 to make an ocean scene. 
 I kept all the die pieces white so they would stand out more.

On the second card, I used the Sizzix Mixed Media die to cut the corner design out.  I glued it onto a shimmery white cardstock and used a left over gold shimmery cardstock for decorating on top.
Two for my card stock but I still have a several more to make!

I wanted to show you a tip for your word or alphabet dies.  I took the time to cut out all my words in a die set and laminate them.  I kept the size of the laminate sheet small enough to store with my dies and I made sure to place them a little apart from each other.  Now when I am looking for a word, I just pull out the sheets and place the word on the card to see if it will fit.  It's really been a time saver for me!

Now off to go work on my Color challenge for tomorrow.  Wait until you see the colors AndrejaM choose for us this month!
Thanks for stopping by...
Netta